
Web Notes
2022.03.01
Install Nextcloud with PlanetScale cloud database
Notes of Nextcloud installation on Ubuntu server with Nginx web server and PlanetScale cloud database.

deploy advanced web apps with Heroku
I’ve known Heroku for a long time, but never have a try to build with it. This time, I found a beautiful file indexer, h5ai, that requires PHP 5.5+, and Heroku is a perfect platform to build and host it.

There’s a tutorial on Heroku: Getting Started on Heroku with PHP. You’d better follow this guide to have a feeling on the build procedures of PHP on Heroku.
Since I do not have PHP installed on my PC, I used c9.io to set up all the things on the cloud with a Ubuntu workspace (Cloud 9 already set all the tools you’ll need, include Heroku CLI tools, PHP, Git, composer…).
OK, now let’s start with following the tutorial from Heroku. Clone the sample application, and then we’ll update it to h5ai.
git clone https://github.com/heroku/php-getting-started.git
cd php-getting-started
Create an app on Heroku that used to receive the source codes, all done using Heroku CLI.
First, you need to login with Heroku account by heroku login, and create a Heroku app by heroku create. You can set the app name by pass the APP-NAME parameter, or Heroku will give you a random app name (in the following case whispering-beyond-31148).
$ heroku login
$ heroku create APP-NAME
Creating app... done, ⬢ whispering-beyond-31148
https://whispering-beyond-31148.herokuapp.com/ | https://git.heroku.com/whispering-beyond-31148.git
Now, we can push the sample codes to Heroku:
$ git push heroku master
Counting objects: 178, done.
Delta compression using up to 8 threads.
Compressing objects: 100% (96/96), done.
Writing objects: 100% (178/178), 49.02 KiB | 0 bytes/s, done.
Total 178 (delta 68), reused 175 (delta 68)
remote: Compressing source files... done.
remote: Building source:
remote:
remote: -----> PHP app detected
remote: -----> Bootstrapping...
remote: -----> Installing platform packages...
remote:        NOTICE: No runtime required in composer.json; requirements
remote:        from dependencies in composer.lock will be used for selection
remote:        - php (7.1.3)
remote:        - apache (2.4.20)
remote:        - nginx (1.8.1)
remote: -----> Installing dependencies...
remote:        Composer version 1.4.1 2017-03-10 09:29:45
remote:        Loading composer repositories with package information
remote:        Installing dependencies from lock file
remote:        Package operations: 12 installs, 0 updates, 0 removals
remote:          - Installing psr/log (1.0.2): Downloading (100%)
remote:          - Installing monolog/monolog (1.22.1): Downloading (100%)
remote:          - Installing symfony/routing (v3.2.7): Downloading (100%)
remote:          - Installing symfony/polyfill-mbstring (v1.3.0): Downloading (100%)
remote:          - Installing symfony/http-foundation (v3.2.7): Downloading (100%)
remote:          - Installing symfony/event-dispatcher (v3.2.7): Downloading (100%)
remote:          - Installing symfony/debug (v3.2.7): Downloading (100%)
remote:          - Installing symfony/http-kernel (v3.2.7): Downloading (100%)
remote:          - Installing pimple/pimple (v3.0.2): Downloading (100%)
remote:          - Installing silex/silex (v2.0.4): Downloading (100%)
remote:          - Installing twig/twig (v2.3.0): Downloading (100%)
remote:          - Installing symfony/twig-bridge (v3.2.7): Downloading (100%)
remote:        Generating optimized autoload files
remote: -----> Preparing runtime environment...
remote: -----> Checking for additional extensions to install...
remote: -----> Discovering process types
remote:        Procfile declares types -> web
remote:
remote: -----> Compressing...
remote:        Done: 14.8M
remote: -----> Launching...
remote:        Released v3
remote:        https://whispering-beyond-31148.herokuapp.com/ deployed to Heroku
remote:
remote: Verifying deploy... done.
To https://git.heroku.com/whispering-beyond-31148.git
 * [new branch]      master -> master
Now, you can visit the sample app now with above url (https://whispering-beyond-31148.herokuapp.com/). There is a working demo: https://gsphpjon.herokuapp.com/.
Well, we have a working PHP app now. The next step is to set up the h5ai file indexer.
In the sample app, there is a Procfile text file that declares what command should be executed to start the app on Heroku. It looks like this:
web: vendor/bin/heroku-php-apache2 web/
This declares a single process type,
web, and the command needed to run it. The nameweb:is important here. It declares that this process type will be attached to the HTTP routing stack of Heroku, and receive web traffic when deployed.
Procfiles can contain additional process types. For example, you might declare one for a background worker process that processes items off of a queue.
So, the web app is started from the web/ folder (treat it as the root folder for h5ai), we’ll replace those files in the web/ folder with h5ai.
Delete all files in the web/ folder except the .htaccess. Then download the h5ai, extract the _h5ai/ folder into web/. The file structure should look like this:
web
 ├─ _h5ai
 ├─ your files
 ├─ and folders
 └─ .htaccess
In this way, h5ai will manage all directories (and files) in and below web/ that don’t have an index (index.html / index.php) file.
Rewrite the .htaccess file, make h5ai as the index page:
RewriteEngine On
RewriteCond %{REQUEST_FILENAME} !-f
RewriteRule ^ /_h5ai/public/index.php [QSA,L]

DirectoryIndex  index.html  index.php  /_h5ai/public/index.php
In the sample app, there already has a composer.json file, add more dependencies required by h5ai in this file:
{
  "require" : {
    "silex/silex": "^1.3",
    "monolog/monolog": "^1.4",
    "twig/twig": "^1.8",
    "symfony/twig-bridge": "^2",
    "ext-gd": "^0.0.0",
    "ext-exif": "^0.0.0"
  },
  "require-dev": {
    "heroku/heroku-buildpack-php": "*"
  }
}
When an app is deployed, Heroku reads this file and installs the appropriate dependencies into the
vendordirectory.
Run the following command to install the dependencies:
$ composer update
It will update the composer.lock as well. You should always check composer.json and composer.lock into the git repository.
In this step, you can add more files or folders in the web/ folder. Then, deploy the changes to Heroku with Git:
$ git add.
$ git commit -m "update files"
$ git push heroku master
After these setups, we can add or delete files (folder) just within the git repo locally. Clone the git repo from Heroku to your local computer, add or delete files in the web/ folder, then push back to Heroku with git push heroku master as normal git operation flow.
The whole file structure for this PHP app looks like this:
your git repo folder
  ├─ .gitignore
  ├─ composer.json
  ├─ composer.lock
  ├─ Procfile
  └─ web
      ├─ _h5ai
      ├─ your files
      ├─ and folders
      ├─ more folder or files
      └─ .htaccess
More settings on h5ai can config the _h5ai/private/conf/options.json file.
For Heroku app, you can also bind a custom domain for the app, just configure it on Heroku’s website.
Frank Lin
Web Notes
2022.03.01
Notes of Nextcloud installation on Ubuntu server with Nginx web server and PlanetScale cloud database.
Tutorials
2020.01.09
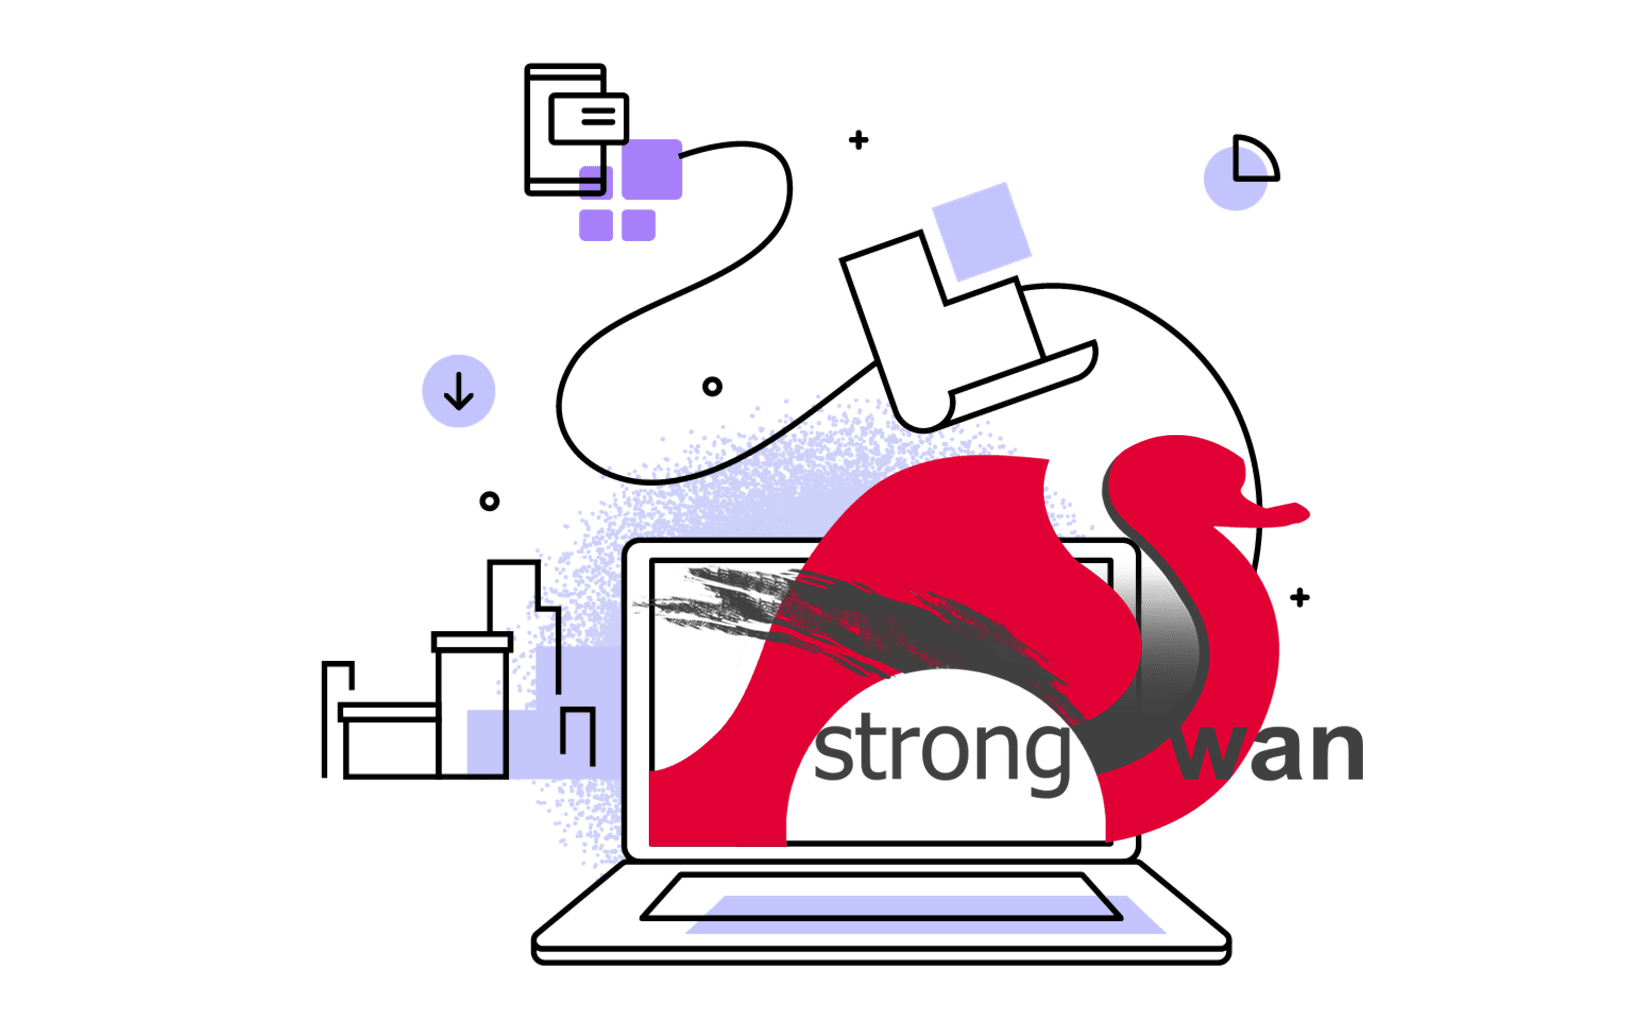
IKEv2, or Internet Key Exchange v2, is a protocol that allows for direct IPSec tunnelling between networks. It is developed by Microsoft and Cisco (primarily) for mobile users, and introduced as an updated version of IKEv1 in 2005. The IKEv2 MOBIKE (Mobility and Multihoming) protocol allows the client to main secure connection despite network switches, such as when leaving a WiFi area for a mobile data area. IKEv2 works on most platforms, and natively supported on some platforms (OS X 10.11+, iOS 9.1+, and Windows 10) with no additional applications necessary.

Tools
2020.10.20
IBM Cloud CLI allows complete management of the Cloud Functions system. You can use the Cloud Functions CLI plugin-in to manage your code snippets in actions, create triggers, and rules to enable your actions to respond to events, and bundle actions into packages.